Using SuperDVdate

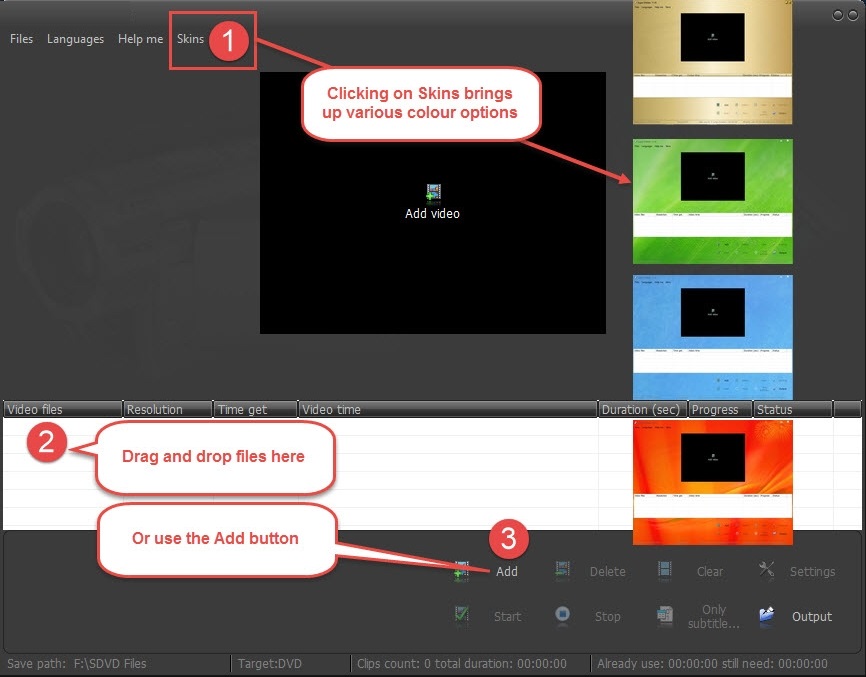
Opening SuperDVdate, changing the Skins and adding video
Click on the image to enlarge it
|
Changing the appearance and adding files
|

|
Note 1: SuperDVdate won't work with different video frame sizes at the one time. For example, all video files must be 1920x1080 or 1280x720, etc. The easiest way to make certain is to initially select all the files from the same camera.
Note 2: For SuperDVdate to work correctly, original (unedited) video files need to be used. If an edited video file is used, the date/time will need to be set manually. |
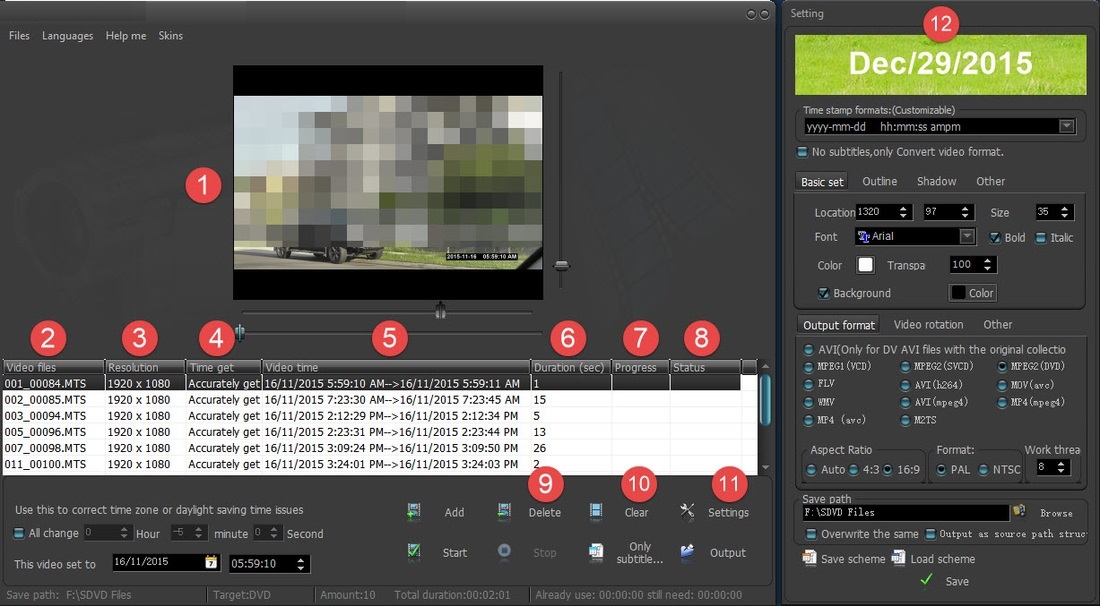
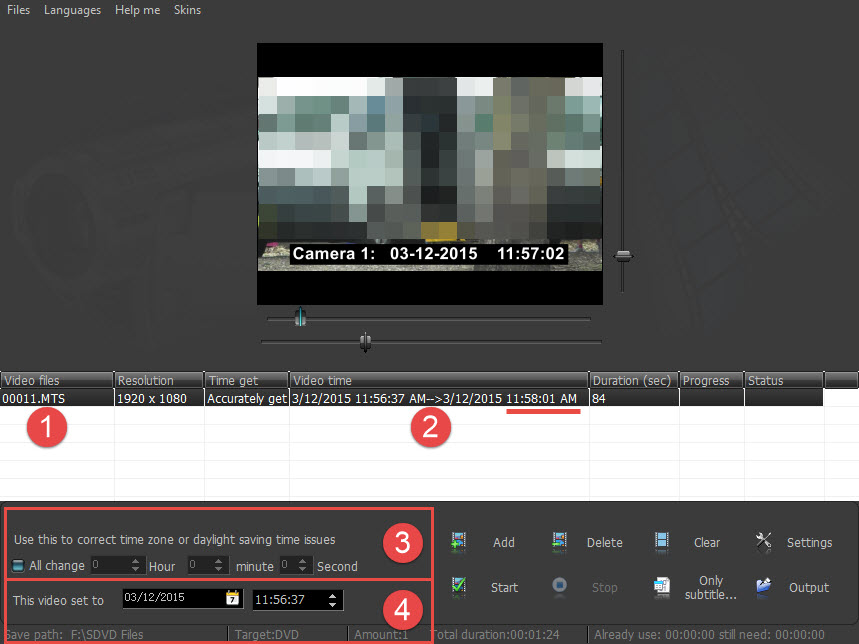
The following image shows the layout and the Settings option after video has been added to the program.
Click on the image to enlarge it
|
Real surveillance video has been used so the screen image in Number 1 has been pixilated.
Numbers 1 to 8 should be self-explanatory. Number 9 is the Delete button for deleting a particular (highlighted) file. Number 10 clears the entire list of files. Number 11 brings up the various Settings options (Number 12). |
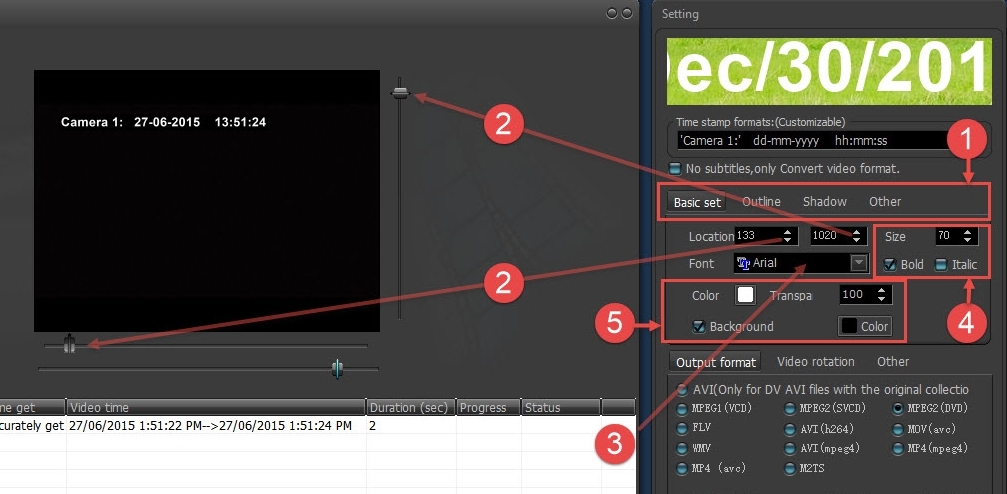
Settings: Part 1 - Date and time formats
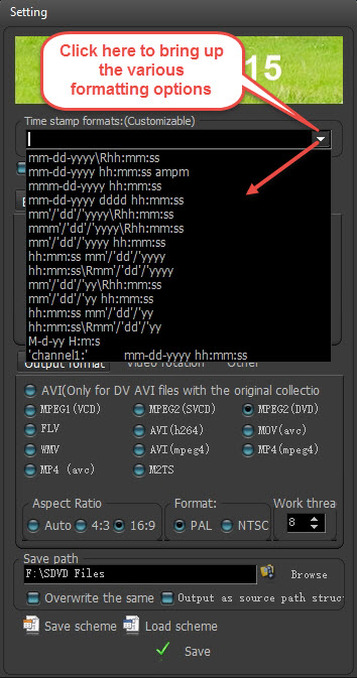
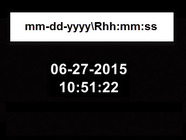
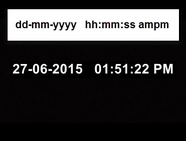
The following image shows the various ways in which the date/time can be displayed on your video.
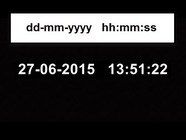
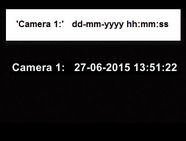
The image on the left shows where to click to bring up the various time/date text layout options. The images to the right show the formatting used in the white box with the black screen showing how the time/date is then displayed.
The image on the left shows where to click to bring up the various time/date text layout options. The images to the right show the formatting used in the white box with the black screen showing how the time/date is then displayed.
|
Click on any of the images
below to enlarge them
|

|
Tip: By using several seconds of black video or a static shot, as well as the 'Sample Text' setting on its own (as per 'Camera 1:' above), a title page can be added to the beginning or end of your video.
|
|
|
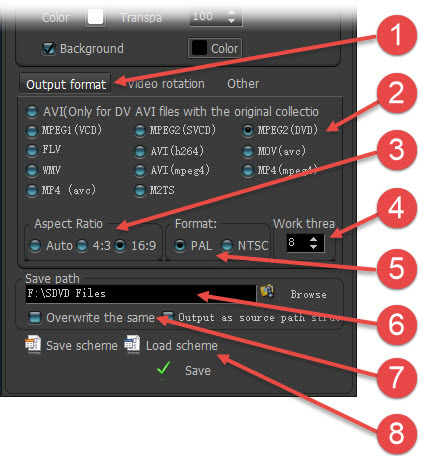
Settings: Part 2 - Output formats
|
|
Tip: An incorrect burnt-in date/time can be corrected by using a solid background color and carefully adjusting its size and positioning the new date/time over the top of the other, incorrect date/time.
|
Click on the image to enlarge it
|
Output formats
|
Click on the image to enlarge it
|
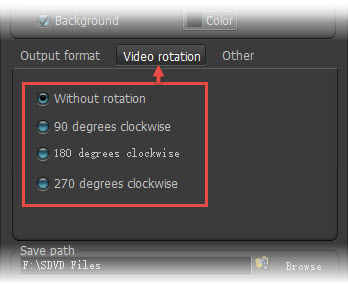
Video rotation
This is a particularly handy feature whereby any video that has the wrong rotation can be re-rotated 90, 180 or 270 degrees clockwise with the date/time then appearing the correct way up. If you do need to rotate any video files, ensure only the files that need identical rotation are included in SuperDVdate. Once this setting is activated, ALL the video files in SuperDVdate will be effected. |
Click on the image to enlarge it
|
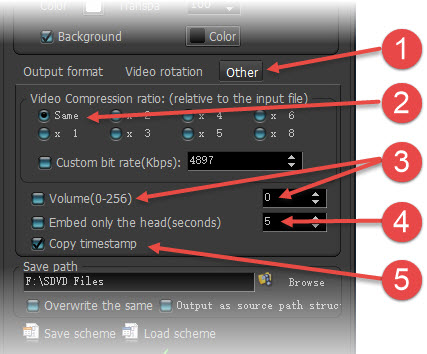
Other
|
|
|
Tip: Once you make all your formatting and layout adjustments for one lot of video file type, either take note of those settings or save them as a Scheme. Once additional files of a different type are then added to SuperDVdate, the formatting and layout setting will likely revert to the default setting and will need to be readjusted.
|
|
After making all your various adjustments, be sure to click on Save.
Then click on Start. |
Correcting date/time errors
Most camcorders record to an .MTS file format, which contains time/date metadata that is used by SuperDVdate. If the date/time was correctly set on your camera, then there should be no further need to make any corrections. However, if the date/time setting was (even slightly) wrong, you might want to make corrections.
Car and covert cams on the other hand can write to a variety of different file formats - .MOV, .AVI, .MP4, etc. SuperDVdate will obtain a date/time record from the most reliable method, but this could mean using the date modified setting, meaning the time will be out by the length of the video. In other words, if you started recording video at 10.00 am and stopped at 10.05 am, the time modified setting will be 10.05 am. SuperDVdate will show the commencement time of of the video as 10.05 am, but this can be easily corrected.
Lets look at some example of how each file type can be corrected - if necessary.
Correction methods 1 and 2 - Change All & Hard Set the date and time
Click on the image to enlarge it
|
|
Correction Method 3 - Time Options

Click on the image to enlarge it
|
|
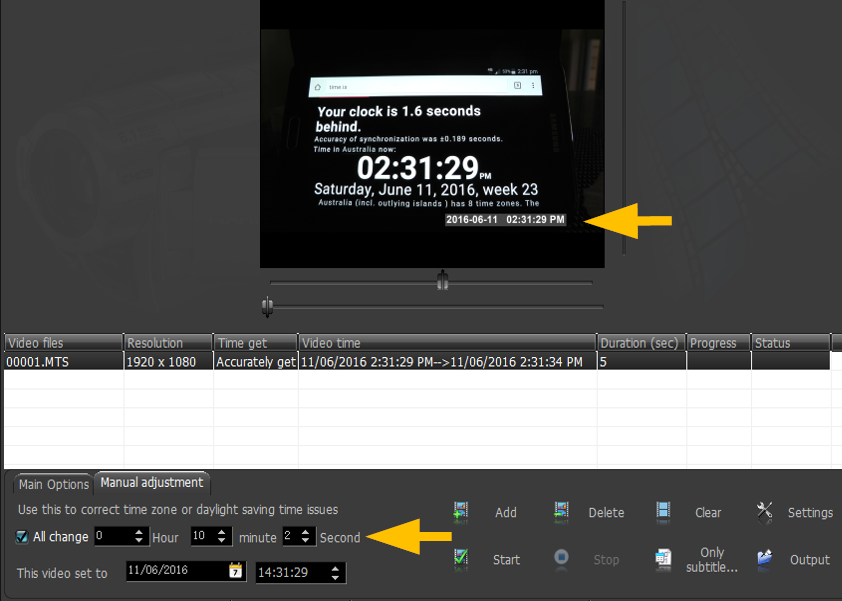
Get to-the-second accurate date/time on all your video and validate any changes made
Click on the image to enlarge it
|
By going to www.time.is/(insert your city) on your PC or phone and taking a few seconds of video with all the cameras used on a matter, adjustments can be made to all the video from each camera (separately as they will vary) to get totally accurate date/time.
Keeping that few seconds of www.time.is video with your surveillance video validates the date/time. |